
Sushi has gained immense popularity worldwide, and one of the most loved variations is Kanikama sushi, also known as Kani sushi. It features a delicious blend of imitation crab meat, known as kanikama, wrapped in a bed of seasoned rice and seaweed. This delightful fusion of flavors and textures makes it a favorite choice for sushi enthusiasts. If you’re eager to enjoy this delectable dish from the comfort of your own home, this complete guide will walk you through the process of making the best Kanikama sushi.
Understanding Kanikama
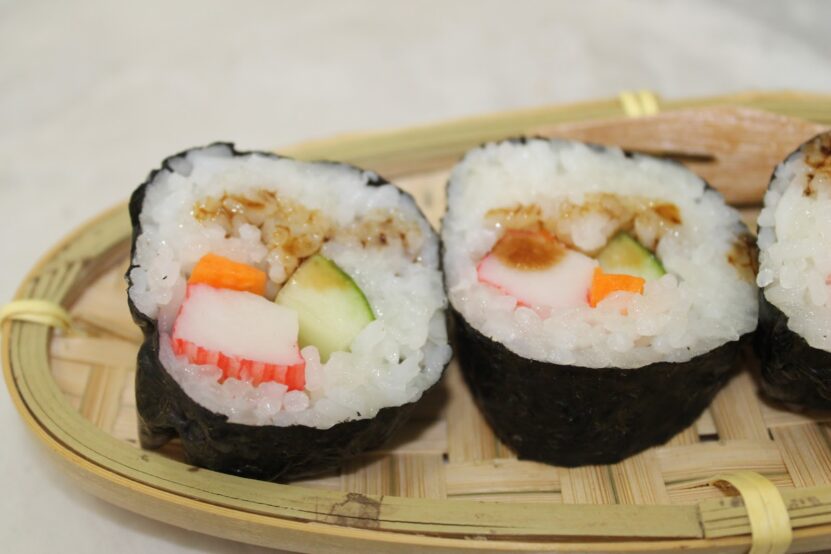
Kanikama, the star ingredient of Kanikama sushi, offers a convenient and affordable alternative to real crab meat. Its mild and delicate flavor, combined with its flaky texture, makes it a popular choice for sushi enthusiasts. The imitation crab meat is typically made from white fish, such as pollock, which is finely minced and mixed with other ingredients to create a crab-like consistency.
The process of shaping and coloring the Kanikama closely resembles the appearance of real crab meat. The bright orange or pink hue gives it an authentic touch, making it visually appealing when incorporated into sushi rolls. This imitation crab meat is not only used in sushi but also finds its way into various other dishes, such as salads, sandwiches, and seafood casseroles.
One of the advantages of using it is its accessibility. It can be easily found in most supermarkets and Asian grocery stores, either in the frozen or refrigerated seafood section. It is conveniently packaged, making it a convenient choice for home cooks who want to recreate the flavors of their favorite sushi restaurant.
Furthermore, Kanikama’s versatility extends beyond its use in sushi. Its mild flavor profile allows it to be incorporated into a wide range of recipes, adding a touch of seafood goodness. From sushi bowls to California rolls, Kanikama opens up a world of culinary possibilities for seafood lovers.
Tools and Ingredients
To prepare Kanikama sushi at home, you will need a few essential tools and ingredients. These include:
Sushi Rice: High-quality short-grain Japanese rice is the foundation of any sushi dish. Rinse the rice thoroughly before cooking to remove excess starch.
Kanikama: As mentioned earlier, Kanikama is the star of the dish. Ensure you have enough for your desired quantity of sushi rolls.
Nori (Seaweed Sheets): Nori is the dark green, paper-like seaweed used to wrap sushi rolls. It provides a distinct umami flavor and adds a pleasant crunch to the rolls.
Rice Vinegar: Rice vinegar is used to season the sushi rice and give it a tangy flavor. It’s readily available in most grocery stores.
Bamboo Sushi Mat (Makisu): A bamboo sushi mat is essential for rolling the sushi tightly and evenly. It can be found in kitchenware stores or online.
Wasabi and Soy Sauce: These condiments are commonly served with sushi for added flavor. You can also include pickled ginger for a refreshing palate cleanser.
Step-by-Step Instructions
- Prepare the Sushi Rice:
- Rinse the rice until the water runs clear.
- Cook the rice according to the package instructions.
- Once cooked, transfer the rice to a large bowl and let it cool slightly.
- Gradually add rice vinegar while gently folding the rice to incorporate the vinegar evenly.
- Prepare the Kanikama:
- If the Kanikama is frozen, thaw it according to the package instructions.
- Remove any packaging and pat the Kanikama dry with paper towels.
- Cut the Kanikama into thin strips or flakes, depending on your preference.
- Assembly:
- Place a sheet of nori on the bamboo sushi mat.
- Wet your hands with water to prevent sticking and grab a handful of sushi rice.
- Spread the rice evenly over the nori, leaving a small border at the top.
- Place the Kanikama strips or flakes horizontally across the rice, about one-third from the bottom.
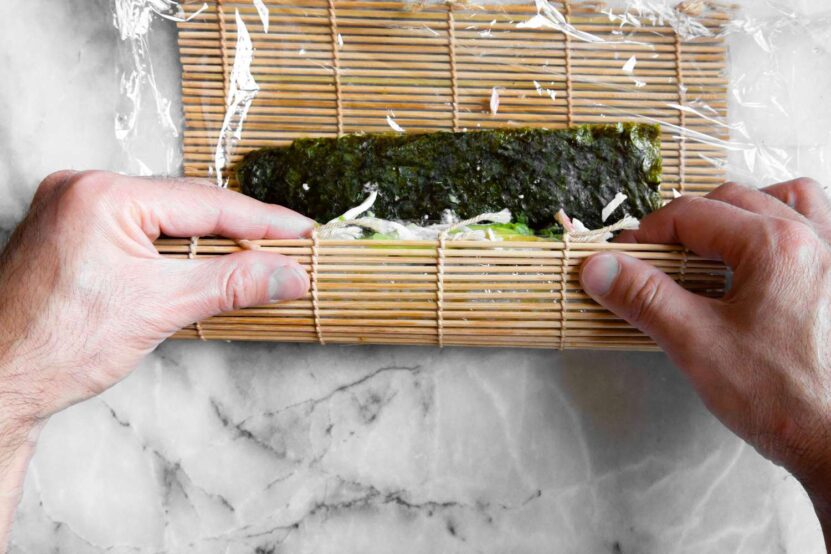
- Rolling:
- Using the bamboo mat as a guide, roll the sushi tightly from the bottom, applying gentle pressure.
- Wet the border of the nori with water to seal the roll.
- Continue rolling until the entire sheet of nori is wrapped around the filling.
- Repeat the process with the remaining ingredients.
- Slicing and Serving:
- Use a sharp knife to slice the sushi roll into
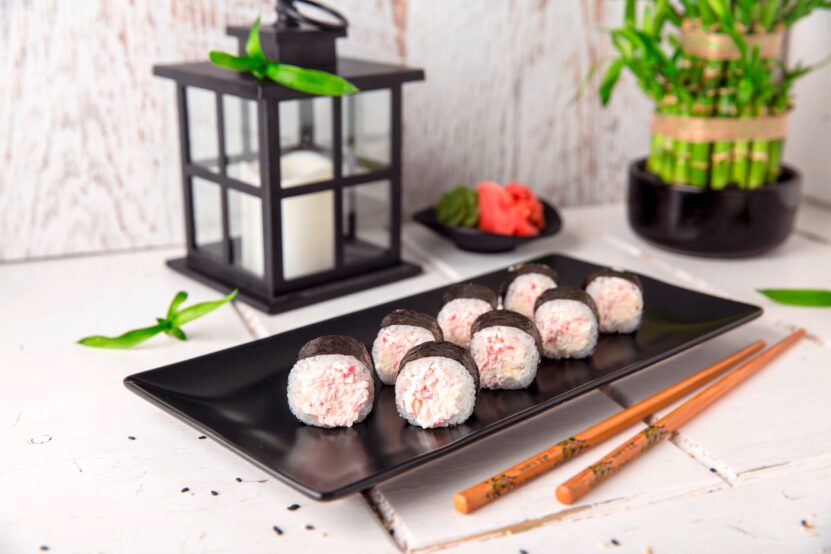
evenly-sized pieces, approximately 1 inch thick.- Arrange the sliced Kanikama sushi on a serving platter.
- Serving and Presentation:
- Serve the Kanikama sushi with a side of soy sauce, wasabi, and pickled ginger.
- You can garnish the platter with sesame seeds, thinly sliced cucumbers, or avocado for added freshness and visual appeal.
- Use a sharp knife to slice the sushi roll into
Tips for Success:
Quality Ingredients: Choose fresh Kanikama and high-quality sushi rice to ensure the best flavors and textures in your Kanikama sushi.
Rolling Technique: When rolling the sushi, apply even pressure with the bamboo mat to create a tight and compact roll. This will prevent the sushi from falling apart when sliced.
Wet Hands: Keep a bowl of water nearby and wet your hands before handling the sushi rice. This will prevent the rice from sticking to your hands and make the rolling process easier.
Sharp Knife: Use a sharp, non-serrated knife to slice the sushi. Wet the blade with water before each cut to achieve clean, smooth slices.
Experiment with Fillings: While Kanikama is the traditional filling for Kanikama sushi, feel free to get creative and add other ingredients such as avocado, cucumber, or spicy mayonnaise for a unique twist.
Practice Makes Perfect: Sushi rolling can be a bit challenging at first, so don’t get discouraged if your first few attempts are not perfect. With practice, you’ll improve your technique and achieve beautiful, restaurant-quality Kanikama sushi.
Conclusion
With this complete guide to Kanikama sushi, you have all the necessary information to embark on a sushi-making adventure at home. By following the step-by-step instructions and utilizing the essential tools and ingredients, you’ll be able to create delicious and visually appealing Kanikama sushi rolls. So gather your ingredients, roll up your sleeves, and enjoy the satisfaction of making the best Kani sushi right in your own kitchen. Happy sushi-making!